

Last week I said I would use the fence this week with Front & Back images, and so I did! :o) Last year I had the awesome opportunity to attend a Front & Back class with Bonnie and Kendra! I got lots of great tips on how to use the images.
This is Becky. Isn't she just a cutie pie! Further down I included photos of more cards with Front & Backs I've done.
I stamped Becky onto Cryogen card stock with a Memento black ink pad. I stamped the fence two times. I colored with Copic Markers first and then cut out all the images.


I added a smokey blue piece of card stock to the inside (which is also the outside) and stamped the WC limb several times in the corner as if there's a tree over Becky's shoulder. I used the small grass clump to add some grass under the fence outside and inside. I adhered the front and back of Becky's head together. NOTE: be sure to trim right up to the line and they will match perfectly.

For final placement. I adhered Becky to the fence checking for placement on the inside and out before pressing down.
Below are some more cards I made with Front & Back images.


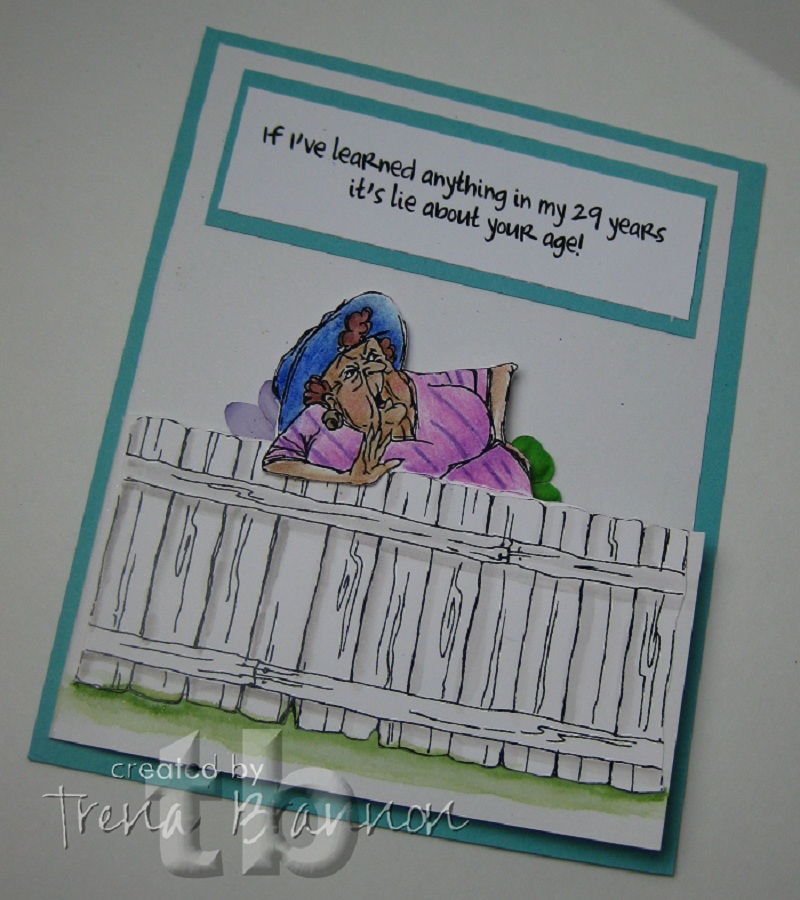

Fanny, Lie About Your Age


I typed the sentiment on my computer.
Thanks for visiting!!
Wow! I always shyed away from those front and back images, but they sure do look fantastic. You make it look so easy too. Thanks so much for sharing this.
ReplyDeleteWOW, these are fantastic!!! Your coloring is awesome and the stamps are awesome!!! I want them!!!
ReplyDeleteOut standing!!!
These are great! And thank you for the tutorial and ideas. I just bought a set of these stamps and was trying to figure out how to use 'em!
ReplyDeleteOh, my goodness! These are too adorable. I've never seen front/back stamps before and they are so cute done this way. Gotta investigate this more. I'm so glad you left a comment on my blog today so I could come visit you! Thanks for you comments. I'm delighted to find you!
ReplyDeleteWow this is amazing! Thanks so much for sharing. I have to give this a try.:-) TFS AJ~
ReplyDelete