Wednesday, July 31, 2013

Enjoy Friends

On August 1st, Crafter's Companion will be announcing some exciting news!! Please come back tomorrow to see what it is - there'll also be some blog candy - woo hoo!! :o)  


 The deign I'm sharing today was inspired by a shopping trip with my sister-in-law, Terry, years ago. First she encouraged me to buy an orange skirt, then Terry told me I had to have orange shoes to go with the skirt. I said to her, "what else can I wear these orange shoes with? Why would I buy one pair of shoes to go with one outfit?" Her response in a very confident tone, "we're women...that's what we do." And so, I bought  those orange shoes. 

I am  featuring images from  Camden Town EZMount Stamp Set - Female 2.  I stamped the classy shoe image onto Ultra Smooth Premium White Cardstock for Alcohol Markers and colored it with my Spectrum Noir Markers - OR1, CR7, CR8, CR10, IG7, IG9, IG10.  After coloring, I cut it out.


I found a brad in my stash that had the color stone I wanted to use, but was silver. I colored the silver with my black SN Pen.


I used Distress Ink pads and a blending tool with foam to blend color on a circle background for the classy shoe.


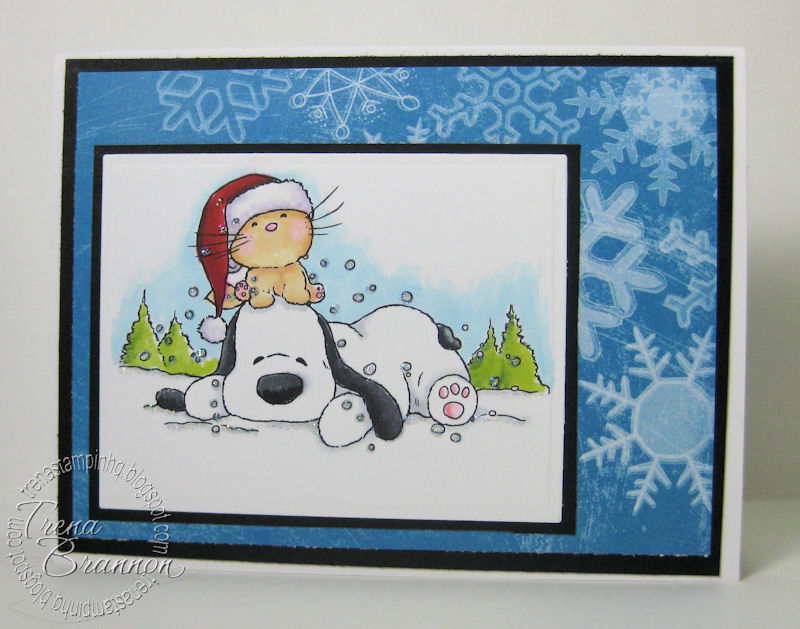
I also blended color on to the words I cut out with a punch. I used OR1 to fill in color on each letter. Now that is "girlfriend card" if I ever saw one! :o)


Here's a photo of all the SN markers I used today:


Crafter's Companion has had several new releases. For more ideas, be sure to pop over to the Crafter's Companion Information Blog, as well as visit the Crafter's Companion DT members.  You can see their latest designs by clicking on the names on the left side of my blog.

Thank you for visiting!!

Take care and STAY POSITIVE!
Friday, July 26, 2013

Let it Snow...yes, in July

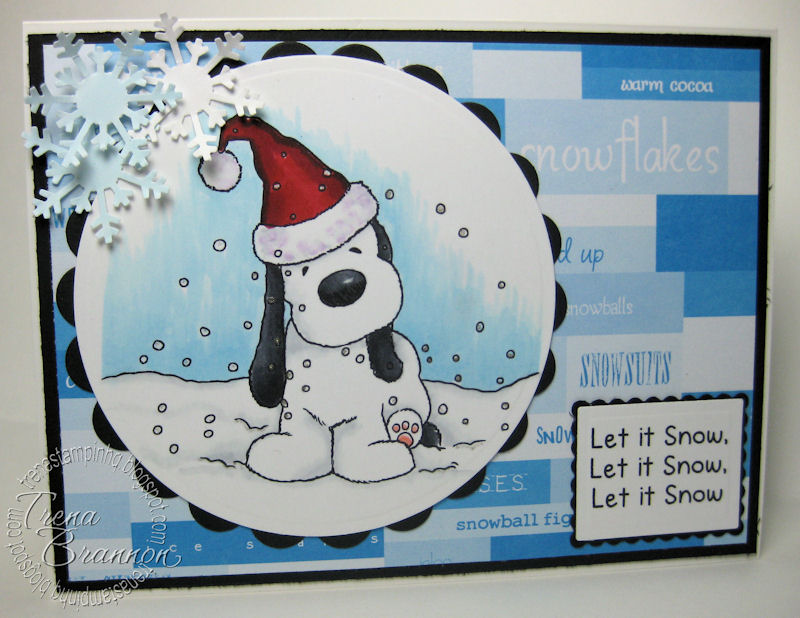
One more Christmas card before we leave July! :o) This set features Barkley Rubber Stamp Christmas Set - Let it Snow  images


 I stamped Barkley onto Ultra Smooth Premium White Cardstock for Alcohol Markers and colored him with my Spectrum Noir Markers

hat: DR3, DR5, DR7, LV1, GG1, Blender
Barkely: IG7, IG8, IG10, CR1, GG1, Blender 
snow: GG1, Blender
sky: TB1, Blender


TIPs for coloring: dab color in small places and to blend colors together. The lovely, rich inks blend together will little effort. Practice different colors together to create a color combo chart that works for you. Click here to see my combo color chart.  Also, visit the Spectrum Noir Blog for ideas. I visit there all the time! I got a lot of my favorite combos from there. :o)

Next, I used a punch to cut out some snowflake embellishments. I adhered them with Collall's Tacky-Glue and popped one up with Double Sided Adhesive Foam Circles.


For a final touch, I added sparkle to the snow with a glitter pen.


Crafter's Companion is still celebrating Christmas in July! 


For more ideas, be sure to pop over to the Crafter's Companion Information Blog, as well as visit the Crafter's Companion DT members.  You can see their latest designs by clicking on the names on the left side of my blog.

Thank you for visiting!!

Take care and STAY POSITIVE!

Tuesday, July 23, 2013

More Christmas...in July!

Last week, I shared a design using one of the new Embossalicious Christmas Folders and a sentiment from a new release of Sentimentals stampsThis week I'm featuring a different folder and image from the new releases.  This card is on the board at CHA in Las Vegas. Oh, how I wanted to go!   It was inspired by a card my DT Sister, Denise did. You can see her design here


All this week, Crafter's Companion is celebrating Christmas in July!!


Pop over there to see the cool accessories, stamps, DVDs and CDs that will help you to create beautiful Christmas and winter projects!!

To make my greeting card, I ran the black cardstock through my eBosser, and then added an exquisite metallic gold by running the Tsukineko Delicata GoldnGlitz ink pad directly across the raised areas. Crafter's Companion will soon be carrying this product, along with the Memento LUXE line! I'll be sharing more designs with these wonderful new inks - they are fabulous!


The sentiment was cut out with a Spellbinders die and I used a gold leaf pen to edge it.


Another cool thing I dig about my eBosser is the ability to cut out more than paper and cardstock. I recently used it to cut out some mesh type foam material that I will use for texture in my artwork (dies from Spellbinder and Hero Arts).


Crafter's Companion has had several new releases. For more ideas, be sure to pop over to the Crafter's Companion Information Blog, as well as visit the Crafter's Companion DT members.  You can see their latest designs by clicking on the names on the left side of my blog.

Thank you for visiting!!

Take care and STAY POSITIVE!

Friday, July 19, 2013

Holiday Ebossalicious - Christmas in July

Today, my design features one of the new Embossalicious Christmas Folders and a sentiment from an upcoming new new release of Sentimentals stamps.


I dig all the folders and the Sentimentals images!! There's a variety of sizes and shapes. I'll make more designs with them! I think my DT sisters love them as much as me and will be making some fabulous designs featuring them - so be sure to pop over and visit them! The new folders come in a variety of sizes - this folder is an 8x8" so I used the folder with my eBosser!  The eBosser great for larger folders, as well as multiple cuts/embosses in one pass - plus, it's automatic, so no cranking a handle! :o) I embossed these lovely detailed ornaments on a few different types of cardstock.


I chose the vellum cardstock and paired it with black and silver. I trimmed the section I wanted to fit on the greeting card and ran it through a stick maker.  I've tried various vellum adhesives, but have yet to find one that does not show through. I used my finger to burnish the adhesive down around the ornaments. For an added touch of sparkle, I used a silver metallic pen on some of the ornaments' detail and sentiment.


Crafter's Companion has had several new releases. For more ideas, be sure to pop over to the Crafter's Companion Information Blog, as well as visit the Crafter's Companion DT members.  You can see their latest designs by clicking on the names on the left side of my blog.

Thank you for visiting!!

Take care and STAY POSITIVE!

Saturday, July 13, 2013

New Barkley Release!

Today, I'm featuring images from one of the upcoming Barkley release sets.  They are all so cute!
Updated 7/16/3013 to include set name: Barkley Rubber Stamp Christmas Set - Festive Fun


 I stamped the images onto Ultra Smooth Premium White Cardstock for Alcohol Markers and colored them with my Spectrum Noir Markers. I used a combination of direct coloring to the cardstock and also pallet coloring - scribble color onto an acrylic block and pick up with a lighter color. As you lay the color on the cardstock, a natural blending occurs.  


TIP: when coloring something white, use a light grey, lavender or blue to show shading and use the blender marker to soften the edges. 


I added Stickles to make the snow pop and used the blender marker to soften the edges of the sky (TB1).


On the inside, I added a sentiment from the set layered on matching design papers.


Crafter's Companion has had several new releases. For more ideas, be sure to pop over to the Crafter's Companion Information Blog, as well as visit the Crafter's Companion DT members.  You can see their latest designs by clicking on the names on the left side of my blog.

Thank you for visiting!!

Take care and STAY POSITIVE!

Friday, July 5, 2013

July Crafter's Companion Challenge - die cut

This month's Crafter's Companion Challenge Blog theme is "Die-Cut".  I chose one of Elizabeth Craft Designs, fabulous dies and colored it with my Spectrum Noir Markers. The oval dies cuts are from Spellbinders.   The cute little sentiment is from the Crafter's Inspiration Spring Edition. updated photo 7/10/2013


 I used the Lotus Flower die set with  Ultra Smooth Premium White Cardstock for Alcohol Markers,  I out lined the pedals with a pencil for a shading guide.


To color,  I used a combination of direct coloring to the cardstock and also pallet coloring - scribble color onto an acrylic block and pick up with a lighter color. As you lay the color on the cardstock, a natural blending occurs.  I laid the overlay die on top occasionally to make sure the color was lining up.


On the inside, I stamped a sentiment from the Stamp-It Australia EZMount Stamp Set 62 - Time To Dream.


Every month, there's a fun challenge with a chance to win at a voucher to shop at Crafter's Companion. Visit the Crafter's Companion Challenge Blog for this months challenge. For inspiration, be sure to visit the Crafter's Companion DT members.  You can see their latest designs by clicking on the names on the left side of my blog.

Thank you for visiting!!

Take care and STAY POSITIVE!

Friday, June 28, 2013

Domino Art

I used a few different coloring techniques to create these fun designs.


  To prepare the dominoes, I soaked them in bleach overnight. This step allows the ink to better adhere to the surface. It does dull down the domino a bit. This is good for a vintage look. If you want that sheen, you can add it back later - which is what I did on most of these designs.  All of these designs feature images from the Stamp It line at Crafter's Companion.

For the first coloring technique, I picked up color from StazOn ink pads with felt pieces and applied color to the domino. I used one color at a time. I started with the sides and then the front leaving a highlight. I also added color to the back.


Next I stamped the Statue of Liberty image from the Stamp-It Australia EZMount Stamp Set 69 - Around The World. I placed the image face side up and brought the domino down to it. I find this is easier to capture the exact part of the image I want onto the surface.  With this technique, you do not need to add a finish.


The second coloring technique uses Spectrum Noir Markers. I stamped the image first - face side up, as above. This image is from the Stamp-It Australia EZMount Stamp Set 70 - Lucious Landscapes.


Next I added a layer of clear medium. Before adding color with the alcohol inks, you need to put some type of finish/sealer on top of the solvent ink. They do not play well together. :o) After it dried completely, I used a combination of direct (coloring directly with marker) and indirect coloring (scribbled onto a non-stick palette and picked up color with a paint brush dipped in alcohol) to "paint" the little scene. TIPS: Be sure to let a color dry before coloring next to it. Use clean alcohol to clean your brush between colors and to add texture, such a clouds or water waves. Be to be careful not to use too much alcohol, it makes the color spread beyond where you want to end. If that does happen, no worries - this is a very forgiving technique. :o) Wait until it dries, then go back over with the color you want to correct it.
I allowed the domino to dry and then added a thin layer of clear medium to seal in the colors.  Spectrum Noir Colors used: BT4, CG3, DG3, EB3, GB7, TB3.


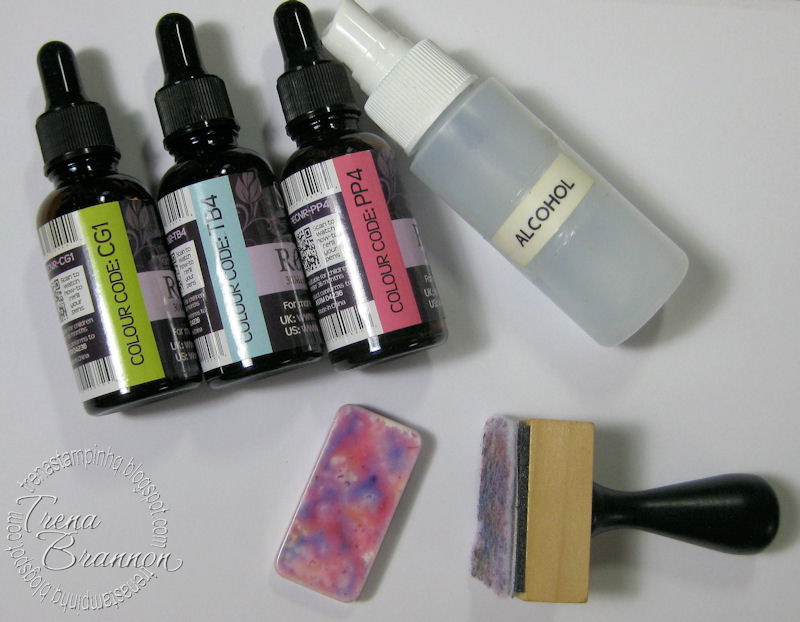
For the third coloring technique, I dropped  Spectrum Noir ink onto an Alcohol Ink Applicator, spritzed the applicator with alcohol and tapped color onto the domino. NOTE: The dropper tops of the ink refills work great for this technique! I tapped until I was happy with the colors.  I have to admit, this one was the most fun!  That's why I made so many. :o)

domino 1: CG1, TB4, PP4


domino 2: clean felt FS5, HB2, PP4


domino 3: did not change felt, added CG3, TB4, TB5. Spritzed more alcohol onto felt and tapped again to spread color.


domino 4:  did not change felt, after tapping, spritzed domino with alcohol


domino 5:  did not change felt, spritzed domino with alcohol then tapped


I allowed each domino to dry and added a thin layer of clear medium before stamping.  After stamping, I allowed each domino to dry and added a thin layer of clear medium to seal everything.

I used images from:  Stamp-It Australia EZMount Stamp Set Spring - Dreamy Daisies (colored with CT4, DG4), Stamp-It Australia EZMount Stamp Set 62 - Time To Dream, Stamp-It Australia EZMount Stamp Set 24 - Oriental Delights


NOTE: Be sure to work in a well ventilated area as the alcohol scent can sometimes be strong.

Crafter's Companion has had several new releases. For more ideas, be sure to pop over to the Crafter's Companion Information Blog, as well as visit the Crafter's Companion DT members.  You can see their latest designs by clicking on the names on the left side of my blog.

Friday, June 21, 2013

New Brambly Hedge Release

Today, I'm featuring images from an upcoming new release of Brambly Hedge


 They are so cute!! The images on my project are from the Winter Story set. I stamped the images onto Ultra Smooth Premium White Cardstock for Alcohol Markers and colored them with my Spectrum Noir Markers. I used a combination of direct coloring to the cardstock and also pallet coloring - scribble color onto an acrylic block and pick up with a lighter color. As you lay the color on the cardstock, a natural blending occurs. 

TIPS: When you are coloring in a small area, dot the color in lightly - the harder you press the more ink will go onto your paper. You'll get a smoother effect when you build color. Leave highlights of the lighter color by not fully coloring over the whole area with darker colors. One of the beautiful features of the Spectrum Noir markers is that they will blend with little effort.  For highlighting snow, lay down color and then use the blender marker to soften the line.


scarf: CR5, DR3, DR7
ears, pipe, tail: CT1, CT4, GB3, GB4, GB5
pocket contents:  CT4, EB4
buttons: IG7
snow: IG1, blender

Next, I sponged in snow with a light blue ink pad and added IB1 and blender to the snowmouse.


After trimming around the snowmouse and snow I adhered the layers to the base card. I added acrylic paint for falling snow.


On the inside I added a sentiment from the set. I left the die cut in place after cutting it out and sponged some ink.


Here's a photo of all the SN colors I used:


Crafter's Companion has had several new releases. For more ideas, be sure to pop over to the Crafter's Companion Information Blog, as well as visit the Crafter's Companion DT members.  You can see their latest designs by clicking on the names on the left side of my blog.

Monday, June 17, 2013

Sheena's New Release - A Little Bit Festive and Blog Candy Winner

Sheena's new release is coming!  It's all about winter. I know, I know...it's only June! :o)


These images are from the Snowy Wellies set and will be available soon at Crafter's Companion. I stamped the boot image twice onto Ultra Smooth Premium White Cardstock for Alcohol Markers and colored them with my Spectrum Noir Markers. I used a combination of direct coloring to the cardstock and also pallet coloring - scribble color onto an acrylic block and pick up with a lighter color. As you lay the color on the cardstock, a natural blending occurs.  To see a video of this method of coloring, click here.  I colored the black boots, snow and sled on the base image, and colored and cut out the green and red boots from the second image.


Boots: DR3, DR5, DR7, CT1, CT4, GB4; CG2, CG4, JG1, JG7; IG4, IG8, IG10
Sled: TN2, TN4, TN6, GB4
Snow: 0, 1B1

To help the snow glisten, I used a glitter pen. 


On the inside, I included the sentiment from the set on matching layers. 


Here's a photo of all the Spectrum Noir colors I used on this project:


Crafter's Companion has had several new releases. For more ideas, be sure to pop over to the Crafter's Companion Information Blog, as well as visit the Crafter's Companion DT members.  You can see their latest designs by clicking on the names on the left side of my blog.

Blog Candy winner


Thank you so much for your nice comments and for sharing your favorite Ai images.  The winner is comment is from Caryn S.
----------------------------------
Caryn S said...


I love the Girlfriends sets, probably like a lot of people. My favorites of this collection are Party Girls and Picture Perfect, I can't decide which one of these images I like more!