
Today I'm sharing a background technique using Spectrum Noir Markers.
I really dig blended backgrounds with lots of movement. To get these vibrant colors onto this background, I used a few colors and a swirl/twist motion. What is really nice about this technique, is that you can easily control the amount of color you want. You can start out with a small amount, see if you like it. If you like it, stop. If you want more, then do the exact same steps again. You can continue to add color until you get the results you want.
Here's what I did to make this little piece of art:
I first scribbled three markers randomly onto a plastic sheet, spritzed alcohol, then swirled and twisted my cardstock around in the colors.

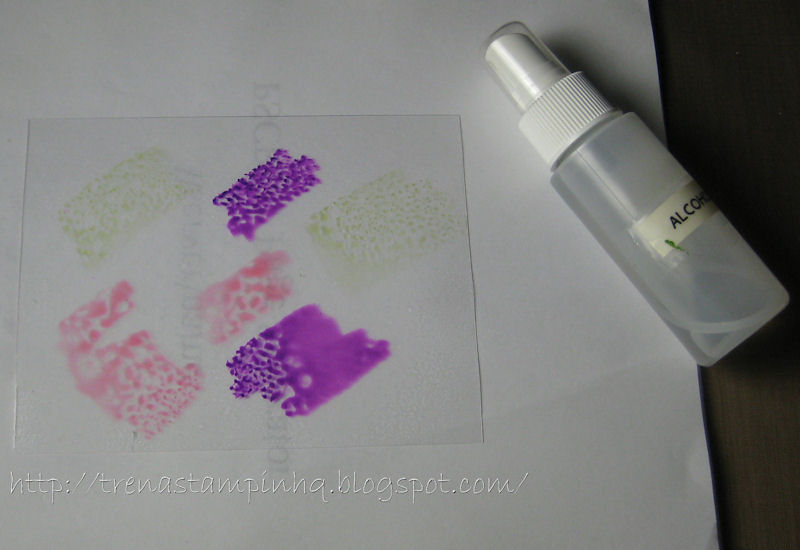

I wanted more color, so I added some more PP5 and PL5, spritzed, swirled and twisted again. Well, that just wasn't enough for me! I admit, I'm a bit greedy when it comes to color. :o) Next I added a darker green, DG4.

After adding the darker green, I was happy with the movement going on. Whew!

I allowed it to dry completely before going to the next step. The next step was stamping! I Stamped this new Stamp It - A Map image onto a transparency sheet and trimmed to fit over background. Memento - rhubarb stalk is a really nice color here. I wanted more of a subtle look over my blended background. I attached the transparency sheet with brads and adhered the background layer onto the base card layer.
Here are all the markers I used >

Stamps: Stamp It
Paper: transparency sheet, Stampin' Up! orchid, Pearlescent Paper & Card Pack - Brights, Curious Metallic White Gold CardStock
Inks: Spectrum Noir Markers, Memento rhubarb stalk
Accessories: pink brads from my stash
Take care and STAY POSITIVE!
Trena
This is a beautiful card Trena! I love those colours together.
ReplyDeleteTrena, your card is GORGEOUS!! Thank you for sharing this technique! Such a dramatic effect which seems fairly easy! I love that stamp too!
ReplyDeleteBeautiful background effect- love the colors you used too!
ReplyDelete